| Delphi Clinic | C++Builder Gate | Training & Consultancy | Delphi Notes Weblog | Dr.Bob's Webshop |
| Delphi Clinic | C++Builder Gate | Training & Consultancy | Delphi Notes Weblog | Dr.Bob's Webshop |
| ||||||

Using ADS with Delphi Prism and ASP.NET
Advantage Database Server (ADS) is an ideal replacement for old and deprecated Borland Database Engine (BDE) local tables, as I’ve demonstrated in previous articles.
However, ADS is much more than that, and can be used for any database task you have in mind.Stand-alone (local), but also client/server, multi-tier or as internet (web) database.
In this article, I will demonstrate the use of ADS as a web database for an ASP.NET web project (written using Delphi Prism XE) that implements a registration form for events and seminars.
Advantage Database Server v10
First of all, in this article I will use ADS version 10, although you can also use version 9 if you want (I’m not using any of the special new features).
To design the database, I use the Advantage Data Architect application, which is free and can be downloaded from the Advantage website, and is written in Delphi (full source code included).The Data Architect is a nice project to learn how to work with and manipulate ADS tables.
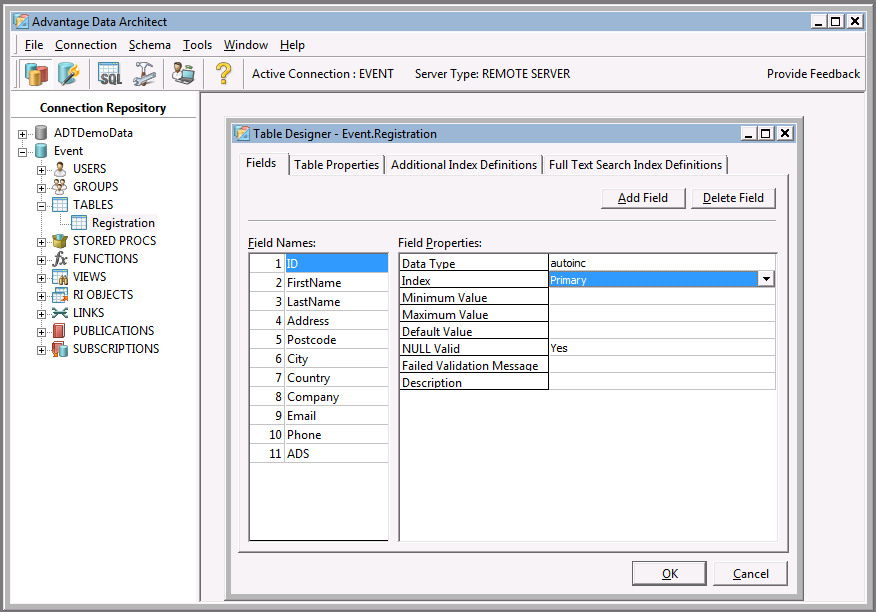
For the example of this article, I need to store the name and address information from people who want to attend an event or seminar.The usual fields are: Company, Name (or FirstName + LastName), Address, Postal Code, City, Country, E-mail address, Phone number, and optionally one or two fields related to the event (like which version of Delphi you are currently using).The example registration form that I want to implement today, is for the Advantage Database System Training Day on November 3rd in Utrecht, The Netherlands.For this registration, we’d like to know which version of ADS (if any) the visitor is currently using, so we can adjust the sessions when needed.
In short, using the Advantage Data Architect, I have created a new Data Dictionary called Events and a new table with the following layout:
Delphi Prism XE
Delphi Prism XE is the most recent edition of Delphi Prism at the time of writing (people with a subscription received no less than two major updates in the last year: first from Delphi Prism 2010 to Delphi Prism 2011, and then – a few weeks ago – Delphi Prism XE).
It can run in both Visual Studio 2008 and 2010, but for this article I’m using Delphi Prism XE in Visual Studio 2010, together with ADS v10 as mentioned before.
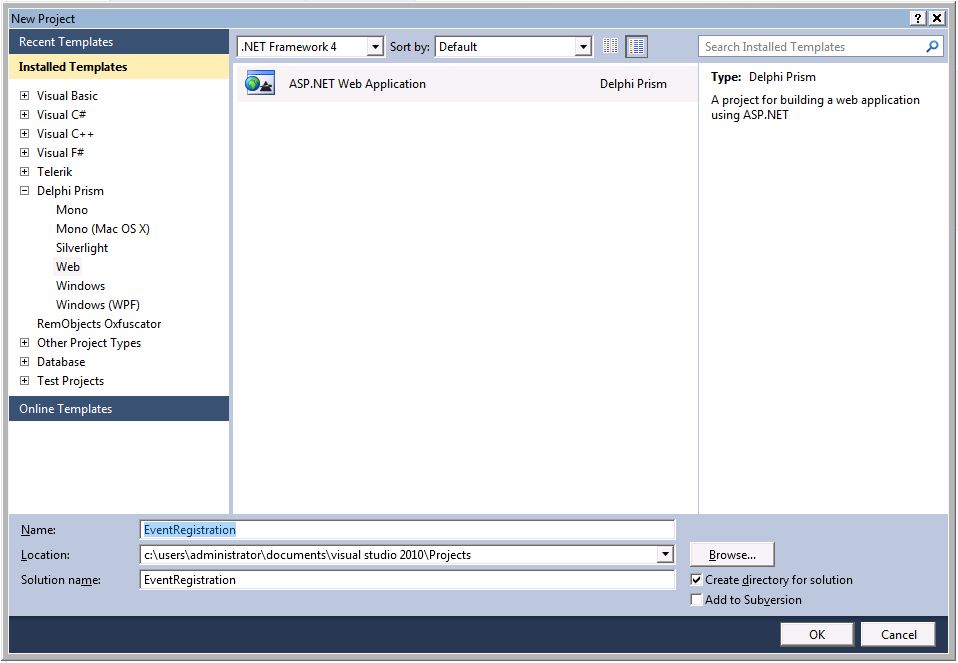
Using Delphi Prism XE, we can create ASP.NET Web Projects, with File | New Project, using the dialog from the following screenshot:

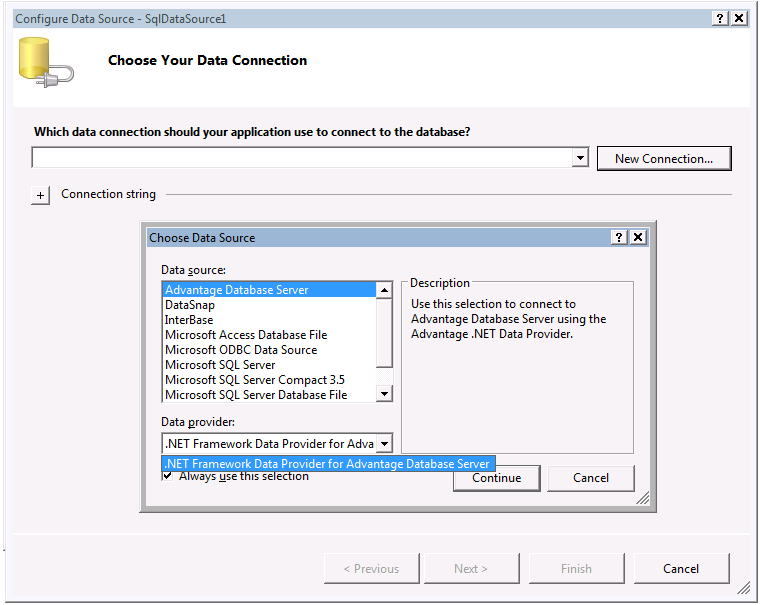
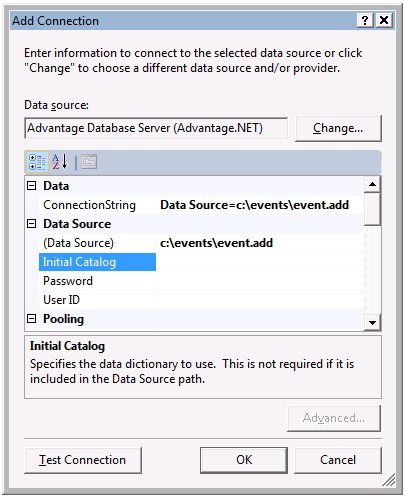
If you click on the New Connection button, a dialog will pop-up in which we can choose the data source.Here, we can select the type of data source from a list that contains Advantage Database Server (if you’ve installed the Advantage .NET Data Provider), as well as for example DataSnap, InterBase, and several Microsoft drivers.
ASP.NET Page
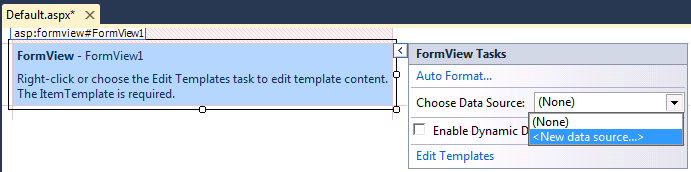
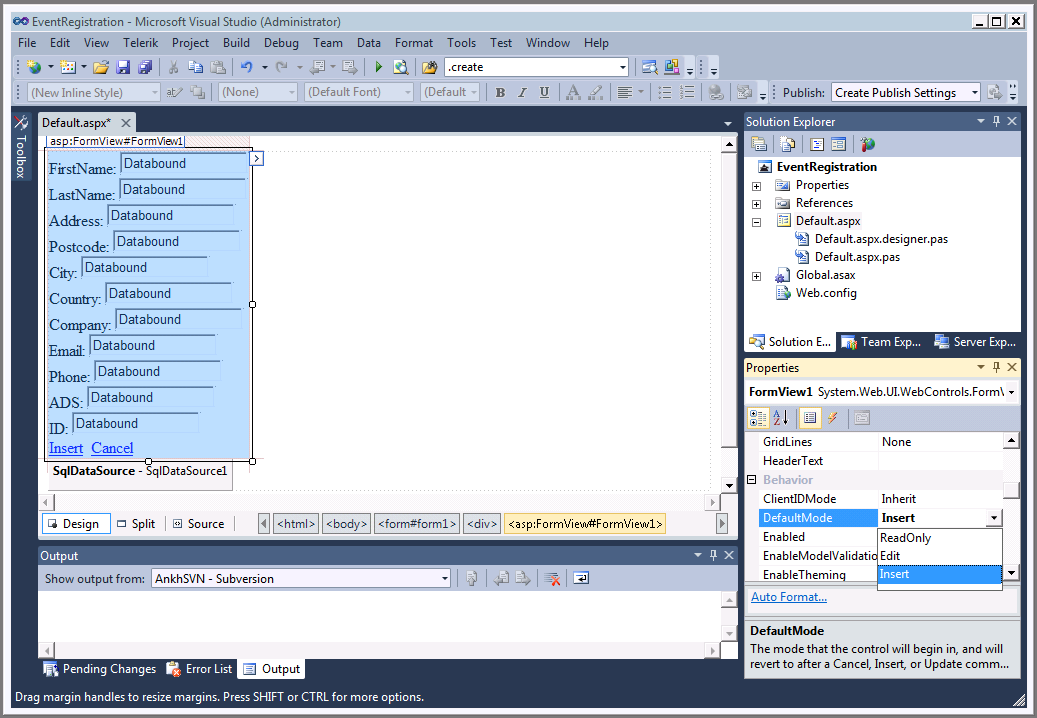
We can now configure the ASP.NET page, and especially the FormView to show itself in INSERT mode only.
This can be done by selecting the FormView, and in the Properties Inspector making sure DefaultMode is set to Insert, with the following result:

  InsertCommand="INSERT INTO [Registration] ([FirstName], [LastName], [Address], [Postcode],
      [City], [Country], [Company], [Email], [Phone], [ADS], [ID])
    VALUES (?, ?, ?, ?, ?, ?, ?, ?, ?, ?, ?)"
While the InsertParameters include the names, as follows:
            <InsertParameters>
                <asp:Parameter Name="FirstName" Type="String" />
                <asp:Parameter Name="LastName" Type="String" />
                <asp:Parameter Name="Address" Type="String" />
                <asp:Parameter Name="Postcode" Type="String" />
                <asp:Parameter Name="City" Type="String" />
                <asp:Parameter Name="Country" Type="String" />
                <asp:Parameter Name="Company" Type="String" />
                <asp:Parameter Name="Email" Type="String" />
                <asp:Parameter Name="Phone" Type="String" />
                <asp:Parameter Name="ADS" Type="String" />
                <asp:Parameter Name="ID" Type="Int32" />
            </InsertParameters>
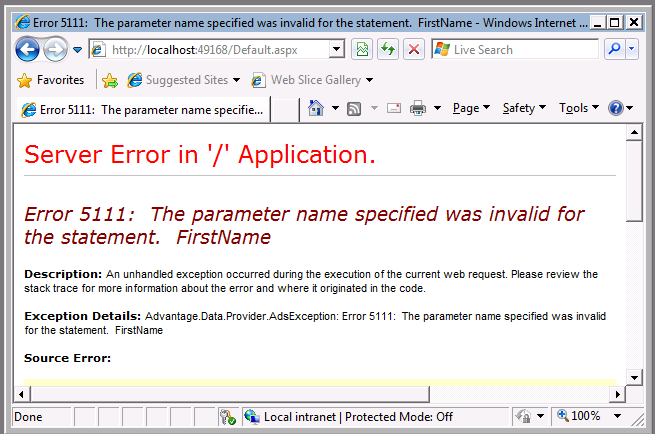
We should change the ? in the INSERT statement to :fieldname items, turning it into the following (also removing the ID field):
  InsertCommand="INSERT INTO [Registration] ([FirstName], [LastName], [Address], [Postcode], [City],
      [Country], [Company], [Email], [Phone], [ADS])
    VALUES (:FirstName,:LastName,:Address,:Postcode,:City,:Country,:Company,:Email,:Phone,:ADS)"
Finally, we should ensure that the ID parameter is also removed from the visible fields on screen (the Bind(“ID")), since we won’t be used it anymore.
With these fixes in place, we can click on the Insert link to enter a registration in the database, with the result that we get a new empty page again.Ready for the next registration.This is nice if more people are standing in line behind the same machine, but it would be nicer (I think) so show a little “Thank you!" message as well.
We can implement this – and catch INSERT errors – in the Inserted event of the SqlDataSource. In the designer, select the SqlDataSource and then double-click on the Inserted event.Here, we can check if there were any INSERT errors (I leave it up to the reader to display them in a user friendly way), or to display the "Thank you!" message using a call to Response.Write.
  method _Default.SqlDataSource1_Inserted(sender: System.Object;
    e: System.Web.UI.WebControls.SqlDataSourceStatusEventArgs);
  begin
    if Assigned(e.Exception) then
    begin
      // handle error?
    end
    else
    begin
      Response.Write('<h1>Thank you for your registration!</h1>');
    end;
  end;
Summary
And that’s it.
Of course, the final registration page will need to look much better when deployed on the internet (including the use of validators to ensure certain fields are required), but the skeleton is in place.If you want to know more about the actual ADS Training Day in The Netherlands we want to use it for, and attend the session on November 3rd where I’ll build this application “live’ (including the validators), then check out http://www.bobswart.nl/ADS.Thanks in advance!


